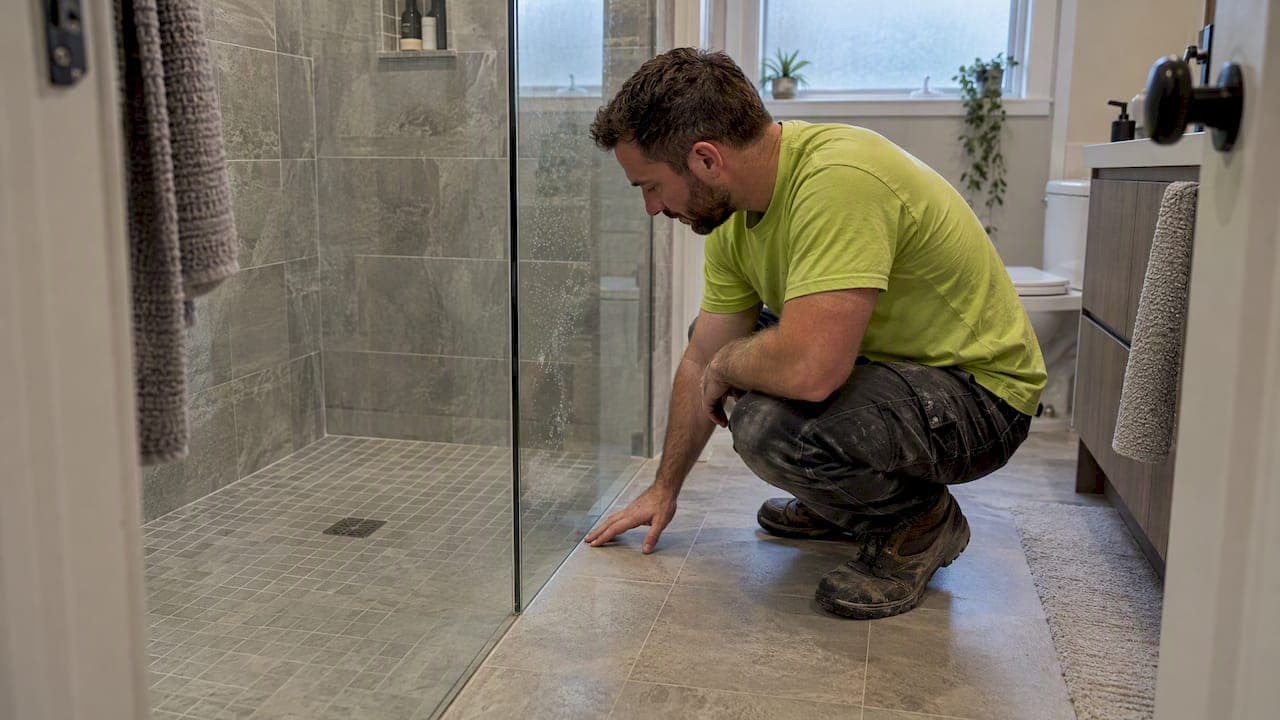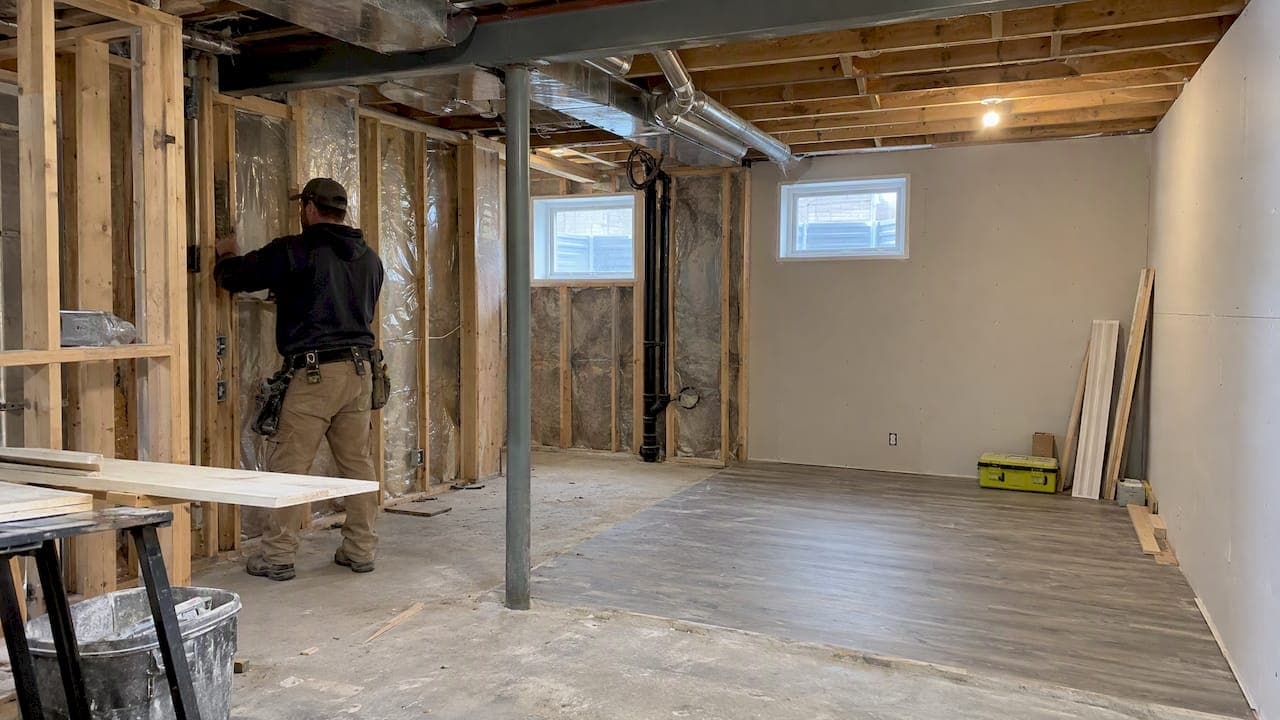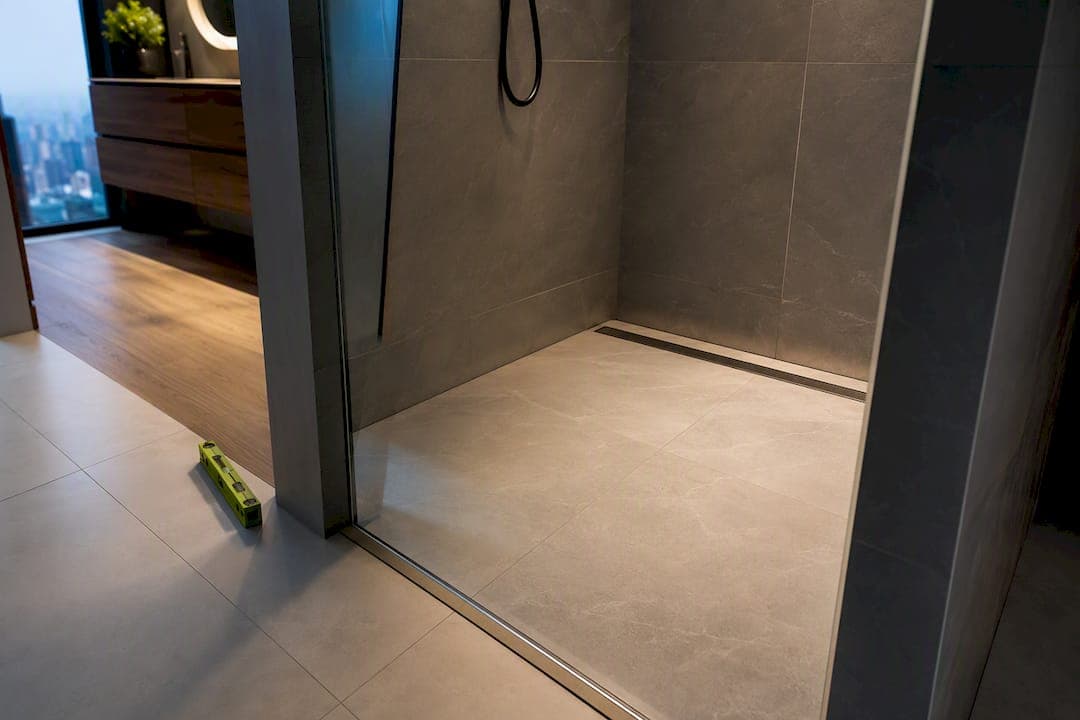
A curbless shower is the right call when accessibility, resale flexibility, or a clean, modern look matter more than absolute simplicity, but it only performs as promised when the floor slope, drain, and waterproofing are done correctly. The single detail that decides success or failure is a consistent 1/4" per foot slope toward a properly sized drain. Homeowners planning to age in place, or who want a curb-free look and can invest in proper waterproofing, are the best fit. Tight budgets and slab limitations often point elsewhere.
TL;DR:
- Proper slope, drain placement, and waterproofing continuity are crucial to prevent water migration and leaks in curbless showers.
- Retrofit costs are higher due to structural modifications, with new constructions allowing better planning and lower expenses.
- Waterproofing must extend beyond the shower transition zone and be tested with a flood test to avoid long-term damage.
- Large-format tiles and linear drains facilitate the seamless, modern aesthetic of curbless showers while requiring precise installation.
- Safety measures like textured tiles and grab bars are essential to reduce slip risks on the gently sloped, open floor design.
Table of Contents
- Key advantages of curbless showers
- Main disadvantages and risks
- How curbless showers keep water under control: slope, drains, waterproofing and testing
- Practical decision checklist: is curbless feasible and worth it for your project?
- Typical costs and timeline: what to expect for retrofit and new builds
- Design alternatives and practical mitigations if curbless isn’t right
- Statera Contracting: common site findings and how we approach curbless projects
- Water containment: slope, drain type and placement, waterproofing
- Daily maintenance and cleaning differences
- Safety concerns and slip resistance of curbless designs
- Aesthetic and design flexibility advantages and limitations
- The gap between the pros-and-cons checklist and what actually decides success
- If you want help: Statera’s feasibility visits and bathroom renovation services
- Sources
Key advantages of curbless showers
The 2025 Houzz Bathroom Study found that a significant share of renovating homeowners chose curbless designs, and accessibility topped their reasons for doing it. That number tells you this isn’t a niche trend anymore. It’s becoming a mainstream bathroom expectation, especially among homeowners planning for the long term.
The benefits go beyond wheelchair access:
- Aging-in-place readiness: no curb to step over means fewer trip hazards as mobility changes over the years.
- Visual expansion: removing the curb and shower door lets tile run continuously, which makes a small bathroom read larger.
- Easier cleaning: fewer grout lines and no curb corner means less mould-prone crevice for buildup.
- Resale appeal: buyers increasingly view curbless design as a marker of a thoughtfully updated bathroom, not just an accessibility feature.
You get a shower that works for a twenty-year-old and an eighty-year-old without redesigning it twice.
Main disadvantages and risks
Every strength on that list carries a matching risk if the build goes wrong. Curbless showers remove the physical barrier that used to catch water by accident, which means the floor system has to do that job perfectly instead.
The real downsides show up here:
- Water migration: incorrect slope, a poorly placed drain, or a membrane that stops short of the transition zone lets water travel into the bathroom or subfloor.
- Higher installation cost: retrofits often require subfloor modification, drain relocation, or slab cutting, which adds labour and materials most curbed showers never need.
- Reduced privacy and heat retention: an open, doorless design lets steam and warmth escape faster, and sightlines into the shower are harder to control.
- Long-term maintenance exposure: if waterproofing is damaged or was never continuous, you may not notice a leak until it’s already caused rot or mould.
None of these are inherent flaws in the curbless concept. Accessibility-focused build guides consistently point out that failures trace back to design or installation errors, not the idea of going curbless itself.
How curbless showers keep water under control: slope, drains, waterproofing and testing
Everything about a successful curbless shower comes down to four connected decisions, and getting one wrong undermines the rest.
- Floor slope: the industry standard calls for roughly 1/4" per foot toward the drain. Without that consistent grade, water pools instead of moving where it’s supposed to go.
- Drain type and placement: linear drains, set at the entry or along the back wall, handle curbless layouts better than a centre-point drain because they allow a single-direction slope. That single-direction slope also happens to work well with large-format tile, which is a common request in modern curbless designs.
- Waterproofing continuity: the membrane has to run past the transition zone, not stop at the shower’s edge. Pre-formed ramps and transition pieces help maintain that continuity where the curbless floor meets the rest of the bathroom.
- Construction method: you’re choosing between a recessed mud bed built into the subfloor, a factory pre-sloped tray, or raising the entire bathroom floor to create the drop needed for drainage. Each has different cost and structural implications.
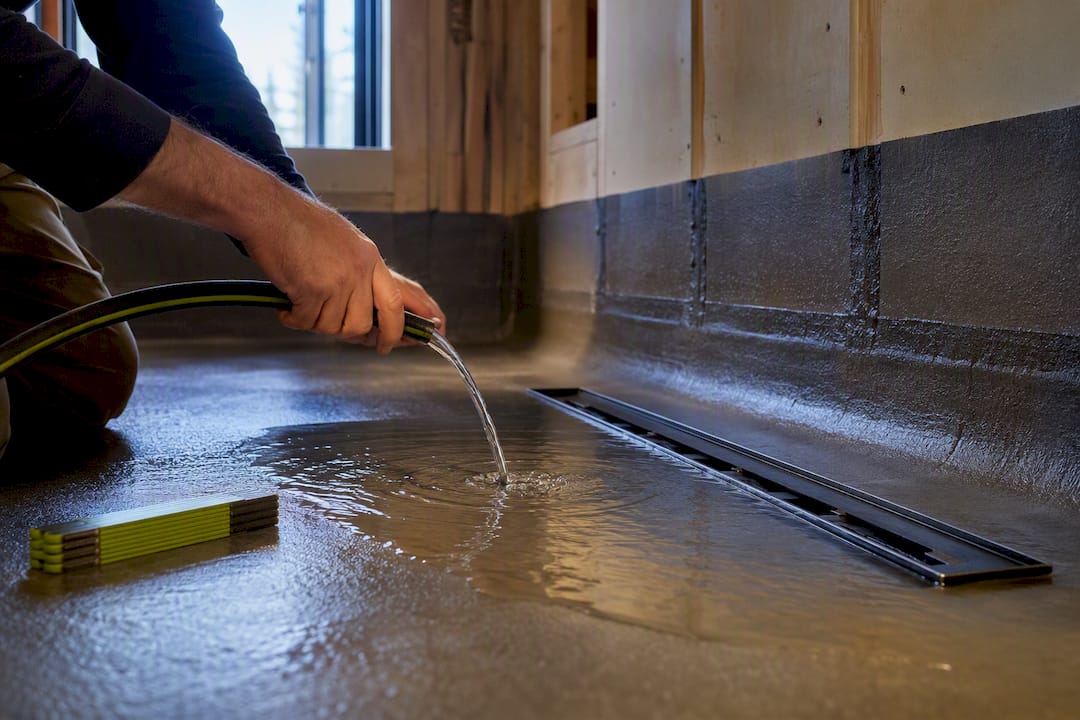
- Flood testing: before a single tile goes down, the pan should hold water for 24 hours with zero movement.
Pro Tip: Ask your contractor to show you the flood test, not just tell you it happened. A photo of standing water at hour twenty-three is worth more than a verbal assurance.
The SCI-BC installation guide names the three most common failure points directly: insufficient or misdirected slope, membranes that terminate at the shower opening, and undersized drain capacity. A proper flood test catches all three before they become drywall repairs.
Practical decision checklist: is curbless feasible and worth it for your project?
Before you commit, walk through these questions with real numbers, not guesses.
- Household need: is this about a mobility requirement now, an aging-in-place plan for the next decade, or purely aesthetics?
- Structural feasibility: are you on a concrete slab or a framed floor with joists? Joist depth determines whether you can recess a drain without expensive framing changes.
- Splash control dimensions: aim for a minimum depth of 36 inches, with 42 to 48 inches performing better in open, doorless layouts.
- Budget contingency: build in extra room for structural surprises. Older homes especially tend to hide plumbing routes that don’t match the drawings.
- Contractor questions: ask specifically about their slope method, drain brand and placement, waterproofing system, whether they flood-test, and what the workmanship warranty covers.
Pro Tip: If a contractor can’t answer “what drain and waterproofing system do you use” without checking notes, that’s a signal to keep asking questions before signing anything.
If you’re weighing this against a full renovation of an older home, structural quirks in aging houses often shape which floor construction method actually works.
Typical costs and timeline: what to expect for retrofit and new builds
Retrofitting a curbless shower into an existing bathroom typically costs more than installing one during new construction, mainly because of subfloor work, drain relocation, and the waterproofing detail required at the transition. Trade write-ups on curbless construction consistently point to structural and drainage work as the biggest driver of that price gap, not the tile or fixtures themselves.
New construction narrows that gap considerably, since the floor structure can be planned around the drain and slope from the start instead of retrofitted around existing joists.
A rough timeline breakdown for the shower portion of a bathroom remodel:
- Subfloor and drain work: several days to a week, depending on whether slab cutting is involved.
- Waterproofing and curing: typically a few days, since membranes need proper cure time before tile goes down.
- Tile setting and grouting: several days more, longer for large-format tile or intricate patterns.
Cost overruns most often come from discovering the subfloor isn’t what the drawings assumed, or from a drain relocation that requires moving plumbing further than planned. A detailed cost breakdown before work starts helps avoid mid-project surprises.
Design alternatives and practical mitigations if curbless isn’t right
Curbless isn’t the only path to a modern, accessible bathroom. A few lower-risk options get you close:
- Low-profile curbs or ramped thresholds: a curb under half an inch, paired with a fixed glass panel, controls splash without the full structural commitment.
- Prefabricated pre-sloped trays: factory-built pans remove the guesswork of hand-sloping a mud bed and reduce the odds of a site error.
- Privacy and comfort fixes: partial glass panels, fold-away doors, or a heated floor address the two most common curbless complaints without abandoning the design.
- A well-built curbed shower: if your budget or floor structure makes curbless impractical, a properly waterproofed curbed shower with a low threshold often delivers 80% of the aesthetic for less risk and cost.
Statera Contracting: common site findings and how we approach curbless projects
On feasibility visits, we check slab versus joist construction first, since that decision drives everything else, including whether the drain can be relocated without major framing work.
Before any tile goes down, we require a continuous waterproofing membrane, a linear drain matched to the layout, and a flood test that can be shown, not just described. Curbless showers are generally recommended for households planning to age in place or anyone prioritizing a barrier-free, modern look, and alternative low-curb options may be more sensible when floor structure or budget are limiting factors.
Water containment: slope, drain type and placement, waterproofing
Water containment in a curbless shower rests entirely on three systems working together, since there’s no physical curb to act as a backup barrier.
Slope does the heavy lifting first. A consistent 1/4" per foot grade toward the drain moves water before it has a chance to spread. Flat spots, even small ones, create pooling that eventually finds its way past the tile joints.
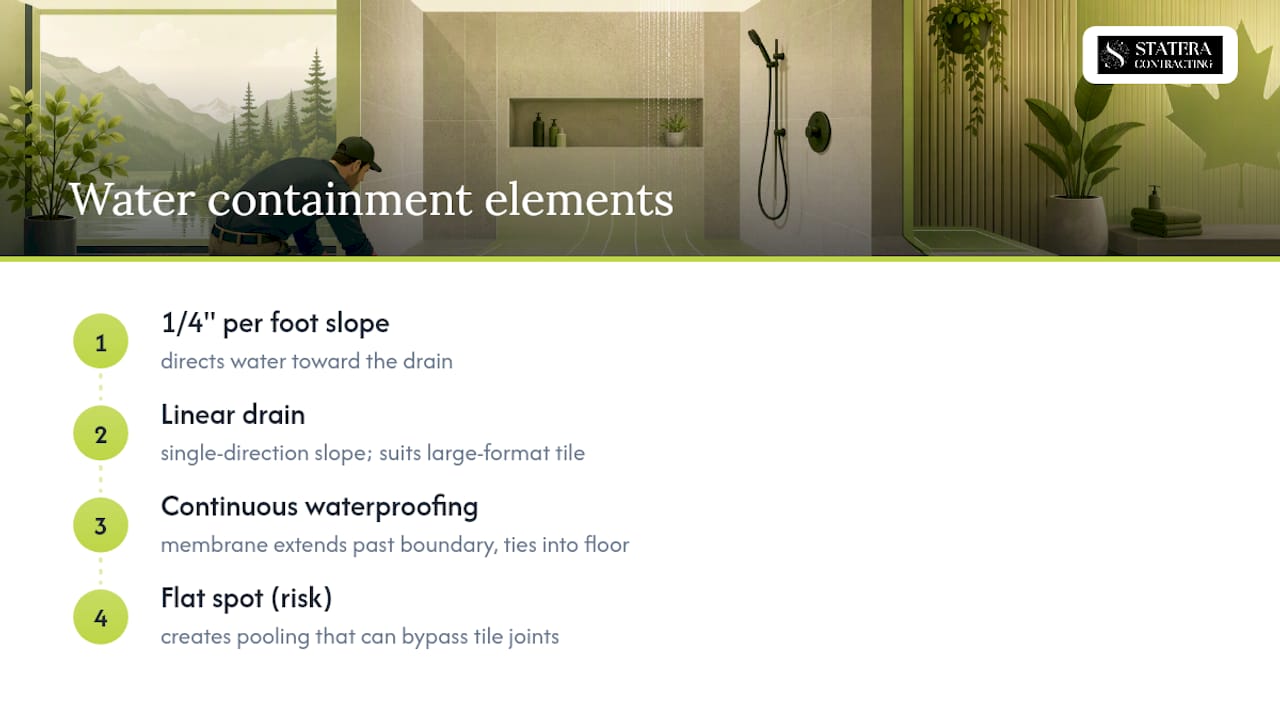
Drain choice matters just as much as slope angle. Linear drains, run along the entry or back wall, allow the entire floor to slope in one direction, which is both easier to build correctly and better suited to large-format tile that many homeowners want for the seamless curbless look. A waterproofing primer from Tenen Ltd walks through why membrane continuity, not just tile quality, is what actually keeps water where it belongs.
Waterproofing is the part most likely to fail quietly. The membrane needs to extend past the shower’s visual boundary and tie into the surrounding bathroom floor without a seam or gap at the transition. Manufacturer systems built around a matched membrane and linear drain, such as the approach detailed in Schluter’s curbless installation guide, exist specifically to remove the guesswork from that transition zone. When all three pieces align, curbless showers hold water as reliably as a curbed one.
Daily maintenance and cleaning differences
Cleaning is one area where curbless showers genuinely outperform traditional ones, and it’s a big part of why homeowners choose the design in the first place.
Fewer transitions mean fewer places for soap scum and mould to take hold. A traditional shower has a curb corner, a door track, and often a step down, each one a crevice that collects grime over time. Remove the curb and the door track, and you remove most of that maintenance burden along with them.
That said, curbless showers aren’t maintenance-free. The larger, uninterrupted floor area means water travels further before it drains, so daily squeegeeing matters more than it does in a compact curbed stall. Grout lines, if you have them, still need periodic sealing, and a linear drain’s cover needs occasional removal to clear hair and debris, similar to any drain but often easier to access given its shape and placement.
The bigger maintenance consideration is invisible: checking that the waterproofing hasn’t been compromised. Since there’s no curb to catch a slow leak visually, homeowners should watch for subtle signs, discoloration near the transition, a change in grout colour, or a faint musty smell, and address them immediately rather than waiting for a visible problem.
Safety concerns and slip resistance of curbless designs
Removing the curb eliminates a trip hazard, but it introduces a different safety consideration: slip resistance on a wet, sloped floor with no barrier to catch a stumble.
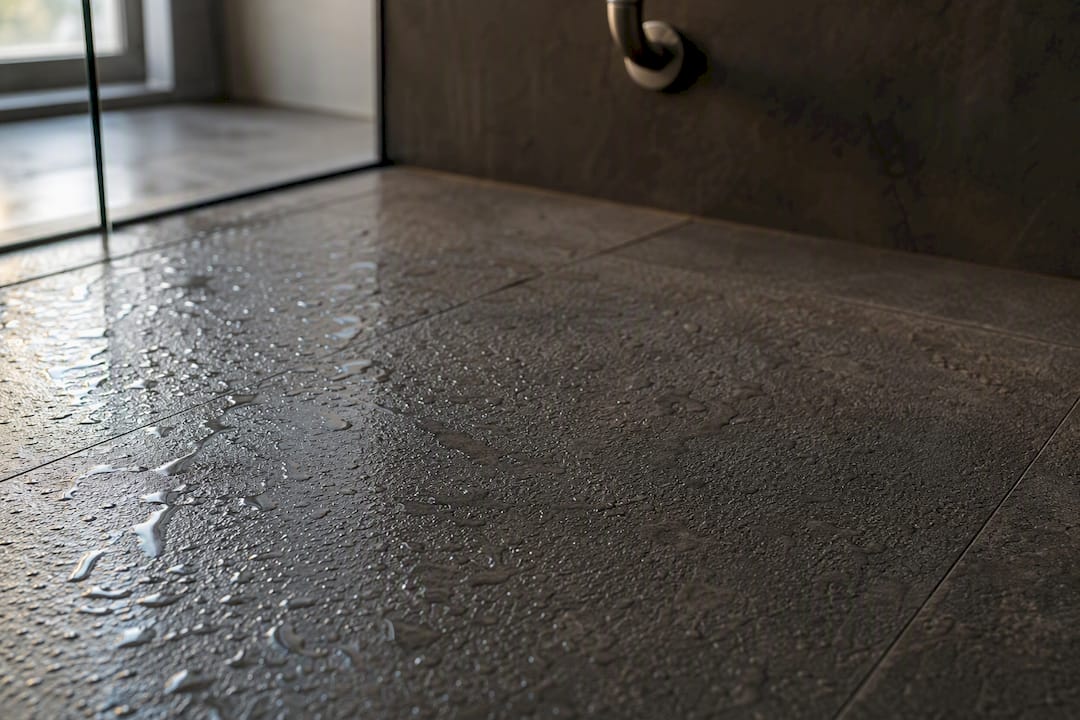
Tile choice matters more here than in a curbed shower. Textured or matte-finish tile, along with smaller format pieces in the shower zone specifically (even if the surrounding floor uses large format), improves grip where it counts. Slick, high-polish tile looks striking in photos but performs poorly underfoot once wet.
Grab bars, often skipped in curbless designs meant to look minimalist, remain one of the most effective safety additions you can make. Positioning them near the entry and at seat height, if a bench is included, addresses the exact moments where a fall is most likely. For households actively planning around mobility needs, a safety-focused bathroom guide covers additional fixtures worth considering alongside the shower itself.
The slope required for drainage, that same 1/4" per foot grade, is gentle enough that most people never notice it underfoot. It’s not steep enough to feel unstable, but it is enough to move water reliably when paired with the right tile surface.
Aesthetic and design flexibility advantages and limitations
The visual appeal of curbless showers explains a large share of their popularity, and it goes beyond simply looking “modern.”
Removing the curb and shower door lets the floor plane read as one continuous surface, which makes small bathrooms feel noticeably larger without any change in actual square footage. Large-format tile, made possible by the single-direction slope a linear drain allows, reinforces that effect further, since fewer grout lines mean fewer visual interruptions.
Design flexibility extends to fixtures too. Without a curb constraining the layout, benches, niches, and even freestanding tub-to-shower combinations become easier to plan around. Homeowners often use the extra openness to introduce a design feature, a feature wall of tile, a statement showerhead, that would feel cramped in a boxed-in curbed stall.
The limitation is that this openness demands commitment elsewhere. An open, doorless shower shows more of the bathroom at once, so finish quality, grout colour consistency, and fixture selection all carry more visual weight than they would in a space partly hidden behind a door. There’s also less room to hide a mismatched tile cut or an awkward corner. A curbless design rewards careful planning and punishes shortcuts more visibly than a traditional stall does.
The gap between the pros-and-cons checklist and what actually decides success
Most articles on this topic hand you a list of pros and a list of cons and leave the decision there, as if curbless showers are a coin flip between “accessible and modern” versus “leaky and expensive.” That framing misses the point entirely. The research on failure modes is consistent: bad outcomes trace back to slope, drain placement, and membrane continuity, not to the curbless concept itself.
What gets underweighted in most homeowner research is how much aging-in-place planning changes the cost calculus. Building curbless during a full renovation costs far less than retrofitting it five years later when a knee replacement or balance issue makes it suddenly urgent. If there’s any real chance you’ll need this feature eventually, the math favours building it now.
The single thing I’d tell any homeowner to prioritize first is to ask your contractor to walk you through their flood-test process before you ask about tile options. Everything else, drain brand, tray versus mud bed, is negotiable. A failed water test is not.
— Patrick
If you want help: Statera’s feasibility visits and bathroom renovation services
For homeowners seeking a straightforward feasibility assessment of their bathroom’s structural realities and renovation options, a professional consultation is the practical next step. A feasibility site visit includes checking slab or joist setup, drain access, and structural realities to ensure that any project quote reflects the home’s actual conditions.

The process includes discussing slope approach, drain model and placement, waterproofing system, and a visible flood test before tiling begins. If curbless is not feasible due to structure or budget, lower-curb alternatives may be recommended instead of pursuing unsuitable solutions. Visit our bathroom renovation services page to request a feasibility visit and written quote for your project.
Sources
- Homeowners prioritize accessibility to future proof bathrooms — Houzz 2025 study
- Expert tips for a perfect curbless installation of a shower linear drain — Warmup
- Curbless showers — an installation guide (SCI-BC)