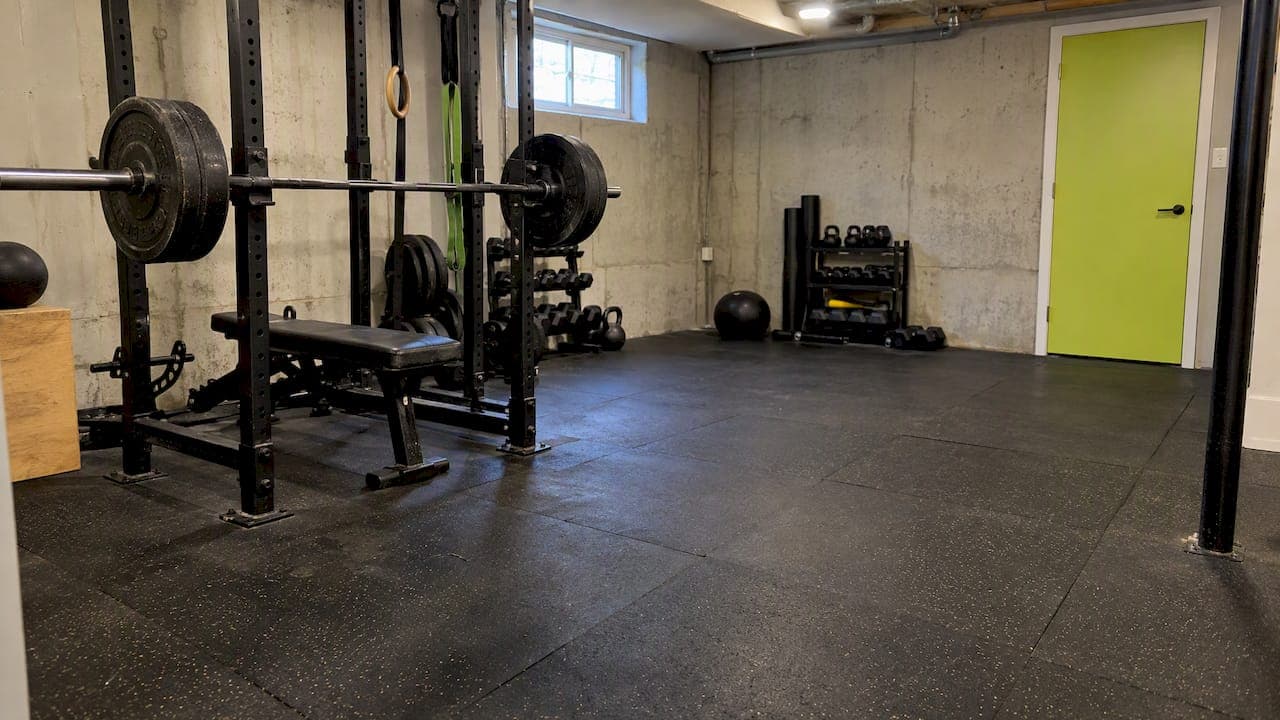
For most home gyms, and especially basement gyms over concrete, dense rubber is the best choice. Pick the thickness by the heaviest thing you will do: about 6 to 8 mm for cardio and general training, 10 mm or more for free weights and racks, and a lifting platform for heavy barbell drops. Check the slab for moisture before anything goes down. The rest of this guide explains how to decide, what each material costs, and how to plan the room around it.
Statera ContractingPlan Your Calgary Basement RenovationStatera Contracting renovates Calgary homes, including basements, so you can discuss how a gym could fit into your renovation plans.Visit Statera ContractingTL;DR
- Rubber is the standard for strength training because it absorbs impact and protects the slab. Foam suits yoga and bodyweight work. Vinyl suits light cardio and stretching areas.
- Match thickness to your heaviest use: roughly 6 mm for cardio, 8 mm for general training, 10 mm for free weights, and a platform for dropped barbells.
- Test the concrete for moisture first, then use a vapour barrier under the flooring where the manufacturer’s instructions call for one.
- Plan zones, clearances, outlets and ventilation before you buy, so the flooring covers the right areas.
- If the basement is still unfinished, lay out the gym before the walls, wiring and ceiling are closed in.
Table of Contents
- Rubber, foam or vinyl: how the main options compare
- Home gym flooring over a concrete basement slab
- How thick should rubber gym flooring be?
- Planning a basement gym layout
- Basement gym ideas that work in practice
- Cleaning and caring for your gym floor
- Planning a basement gym with Statera
- FAQ
- Sources
Rubber, foam or vinyl: how the main options compare
Three materials cover almost every home gym. They behave very differently under weight, so the right one depends on what you actually do in the room.
| Option | Best for | Strength | Watch for | Typical cost per sq. ft. |
|---|---|---|---|---|
| Rubber (rolls or tiles) | Free weights, racks, machines, functional training | Shock absorption, durability, protects the slab | Initial odour, weight of the material | $1.85 to $3.50 |
| Foam (interlocking) | Yoga, pilates, stretching, bodyweight work | Soft and inexpensive | Compresses under heavy equipment | $1 to $2 |
| Vinyl (LVT or SPC) | Light cardio, stretching, a gym that doubles as a living space | Water-resistant, easy to clean, looks like finished flooring | Little shock absorption | $2 to $4 |
The cost ranges come from a Canadian home gym flooring comparison, which also describes rubber as the gold standard for serious home gyms and foam as better suited to bodyweight exercise, since it compresses under weight. Treat the figures as a starting budget. Supplier pricing changes, so confirm current numbers when you shop.
Vinyl deserves a fair look if your basement gym is part of a larger living area. Forbes Home notes that LVT and SPC vinyl are water-resistant and versatile in appearance, but generally lack the shock absorption of rubber, which makes them a better fit for lighter cardio or stretching. If you lift, use rubber where you lift and keep vinyl for the rest of the room.
Rolls or tiles?
Rolls give you fewer seams, which means less to catch a foot or shift under a rack. Tiles are easier to carry down basement stairs, easier to replace if one is damaged, and simpler to cut around a support post or furnace corner. Heavy 4 x 6 ft mats sit between the two. Whichever you choose, ask the supplier how the product should be installed over concrete and follow that guidance.
Home gym flooring over a concrete basement slab
Most Calgary basements have a poured concrete slab, and that is a good base for a gym. It is flat, strong and does not flex under a rack. The concerns are moisture and cold, not strength.
Check for moisture first
Concrete can pass moisture upward, even when the surface looks dry. Natural Resources Canada points out that many basements have little or no insulation, and describes a simple plastic-sheet test that can reveal moisture movement through a slab. Tape a piece of clear plastic flat to the floor, leave it for a day or two, and look underneath for condensation or darkening. If you see either, deal with the source before covering the floor.

A product-specific guide to flooring a home gym over concrete says to assess moisture using the method the chosen flooring recommends, so read the installation instructions of whatever you buy.
For many Canadian basements, retailer guidance suggests a 6-mil polyethylene vapour barrier over a dry, clean slab so moisture does not get trapped against the underside of the flooring. Some products do not need one, and some are installed differently, so the manufacturer’s instructions come first.
Prepare the surface
- Sweep and vacuum the slab, then wash off any oil, paint or drywall dust.
- Fill cracks or low spots that would telegraph through thin rubber.
- Let the slab dry fully after cleaning.
- Lay any required barrier, then the flooring, working from the longest wall.
- Leave the expansion gap the manufacturer specifies at the walls, and trim after the rubber has settled flat.
If your basement is not finished yet, this is the cheapest time to fix problems. Our guide to basement finishing in Calgary covers the order of work, and the basement renovation cost breakdown helps you budget the gym alongside everything else.
What about a gym above ground level?
If the gym is going on a wood-framed floor instead of a slab, the situation is different. Guidance on choosing home gym flooring says a structural engineer should review the load-bearing capacity of the floor for heavy racks and machines. That matters for a spare bedroom or a room above a garage. A basement slab avoids the question.
How thick should rubber gym flooring be?
The heaviest impact the floor must take sets the minimum thickness. Retailers publish slightly different charts, but they agree on the pattern: more weight and more dropping means thicker rubber, and past a certain point means a platform.
One Canadian supplier’s rubber roll and mat guide gives this breakdown:
| Use | Suggested thickness |
|---|---|
| Cardio, stretching, studio use | 1/4 inch (6 mm) |
| General training, machines, light dumbbells | 5/16 inch (8 mm) |
| Free weights, racks, functional training | 3/8 inch (10 mm) |
| Heavy drops | 1/2 inch (12 mm) rolls or 3/4 inch (19 mm) mats, plus a platform |
The same guide says that for a loaded barbell over 225 lb (100 kg) being dropped, you need a platform or drop pads, and that thicker rubber alone is not the fix.
Other suppliers lean thicker. One rubber flooring guide recommends 3/4 to 1 inch (20 to 25 mm) for free-weight areas with regular dumbbell drops and heavy rack loading, and 1 to 1.5 inches (25 to 40 mm) for deadlift zones with full-load bar drops. It also recommends a dedicated platform for Olympic lifting and overhead drops. A thickness guide from another supplier suggests 1/4 inch for machines and free weights up to 50 lb, and 1/2 inch for weights over 100 lb that are not deliberately dropped.
These are retailer recommendations, not a standard, so use them as a range. A sensible way to read them:
- You use machines, a bench and dumbbells you set down gently: 8 to 10 mm is a comfortable choice.
- You deadlift or rack heavy weights but lower the bar under control: 10 to 12 mm, or thicker if you want extra margin.
- You drop the bar from the hips or overhead: a lifting platform on top of or beside your rubber. A lifting platform explainer notes that even 3/4 inch rubber may not fully protect a slab from Olympic drops, because a rigid wood platform spreads the shock over a larger area and gives a stable surface.
Density matters as much as thickness. Soft, thin rubber that feels fine underfoot can be crushed under a rack foot. Ask for the product’s density or hardness rating, and buy a sample you can press with a key.
A note on equipment feet
Heavy racks, treadmills and bikes concentrate weight on small contact points. Put a piece of rubber, plywood or a stall-mat offcut under each foot to spread the load and keep indentations out of the floor.
Planning a basement gym layout
Choose the flooring after you know where things go, so you are not paying for thick rubber under a yoga corner or leaving a squat rack on foam.
Start with a sketch that marks doors, windows, electrical outlets, furnace, panel, support posts and any floor drain. Then:
- List what you do. Lifting, cardio, mobility, classes on a screen.
- Divide into zones. A home gym planning guide recommends separate strength, accessory and cardio zones.
- Leave clearance. The same guide suggests 24 to 36 inches between equipment, and 2 to 3 feet around the main work areas.
- Assign flooring per zone. Heavy rubber or a platform for lifting, medium rubber for machines, and foam or vinyl for stretching.
- Plan power. Treadmills, ellipticals and screens need outlets where you will actually use them.
Ceiling height comes first
Overhead presses, pull-ups and jumping need headroom, and basements are where it runs short. Calgary has minimum height rules for finished basements, which we explain in our article on the 1.95 m basement ceiling rules. Measure from the top of your flooring, not the slab, because rubber and a platform both take away height.
Basement gym ideas that work in practice
A basement gym is only used if it is comfortable. These details make the difference once the flooring is down.
- Ventilation. The same planning guide recommends adequate airflow, from windows, fans or the HVAC system, which also helps limit moisture buildup. Heavy training in a closed room gets humid quickly.
- Lighting. Layer ceiling lights so there are no shadows over a bench or squat rack, and avoid fixtures hanging where a barbell or your arms could reach.
- Wall storage. Mount plate trees, dumbbell racks, bands and bars on walls to keep the floor clear and the room easy to clean.
- Mirrors. Mount them securely on a wall, away from the rack and bar path.
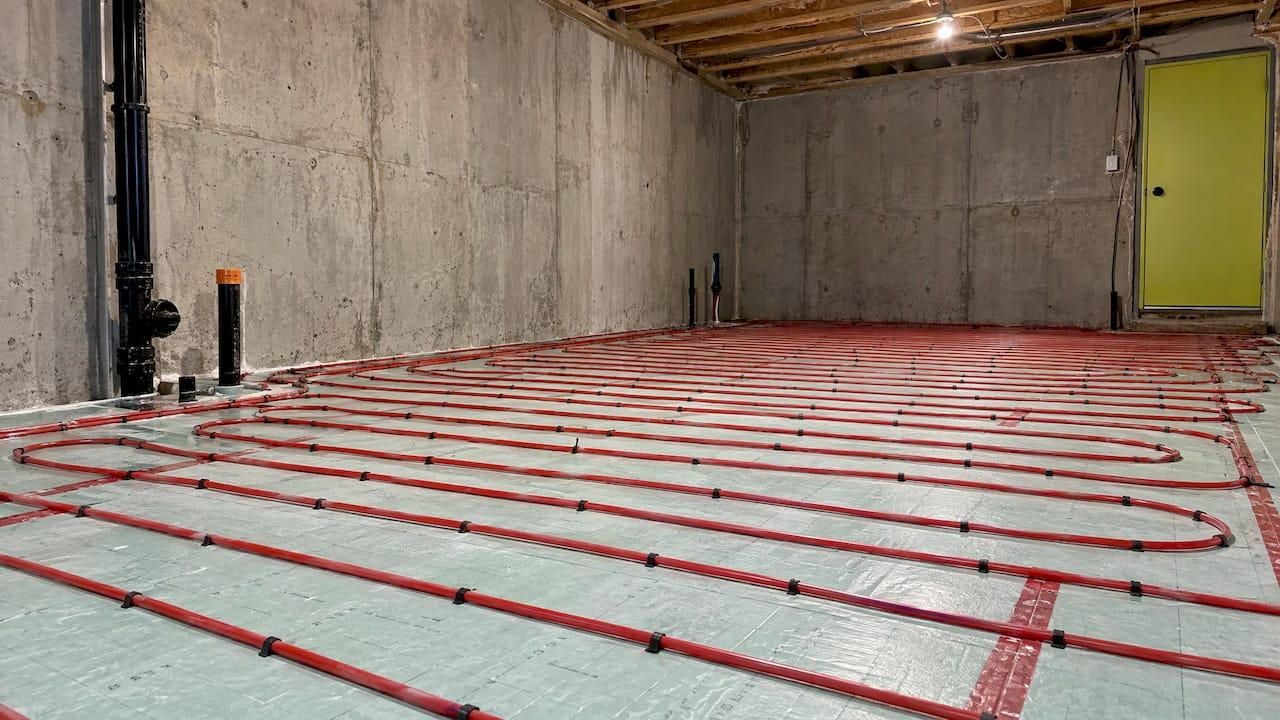
- Warmth. Concrete is cold. A thick rubber floor helps, and radiant heating is an option if you are finishing the basement. See our guide to heated floor costs in Calgary before you decide.
- Sound. Rubber reduces impact noise, and insulation in the ceiling above the gym helps with sound travelling to the rooms upstairs.
- Shared use. If the room also serves as a rec space or theatre, see what we say about basement home theatre costs to plan both uses together.
Cleaning and caring for your gym floor
Rubber is easy to maintain: sweep or vacuum regularly, damp mop with a mild cleaner, and wipe up sweat so it does not sit in seams. Avoid harsh solvents and oil-based products, which can degrade rubber. Dust, chalk and spilled liquids can make surfaces slick, and it helps to understand grip-hazard cleaning prevention so your routine keeps the floor safe rather than slippery. Whatever you use, test it on a small area and follow the flooring manufacturer’s care instructions.
Our view: build the gym into the basement, not on top of it
We see the same pattern in Calgary basements. People buy rubber first, drop it on a floor that was never checked, and later discover the layout does not work: a rack too close to the furnace, a ceiling too low for overhead presses, or an outlet on the wrong wall.
Our approach is to plan the gym as part of the basement. We look at the slab, the moisture, the ceiling height, the lighting and the electrical together, then choose the flooring for how you will really train. We manage permits and code requirements, so the finished room is one you can use with confidence.
We would rather talk through your equipment and training plan at the start than have you rework a floor later. Design is included with our builds, and our family-owned team manages each project directly, with daily communication throughout.
Patrick
Planning a basement gym with Statera
If you are finishing or renovating a basement and want the gym designed in from the start, our basement and living spaces service covers the full scope: layout, permits, framing, electrical, flooring and finishes. We work in Calgary, Okotoks, Cochrane and Airdrie, and we are licensed and insured.

Tell us what equipment you own or plan to buy, and we will build the room around it. Book a consultation with Statera Contracting to get started.
FAQ
What is the best flooring for a home gym?
For strength training, dense rubber is the best all-round choice because it absorbs impact and protects the floor underneath. Foam works for yoga and bodyweight exercise, and vinyl works for light cardio or a gym that doubles as a living space. Choose by the heaviest equipment you will use.
Can I put gym flooring directly on concrete?
Usually yes, once the slab is clean, flat and dry. Check for moisture with a plastic-sheet test first, and follow the flooring manufacturer’s instructions on whether a vapour barrier is needed. If you find moisture, fix the cause before you cover the floor.
How thick should rubber gym flooring be?
Retailer guidance generally runs from about 6 mm for cardio and stretching to 10 mm or more for free weights and racks. For dropped barbells, use a lifting platform or drop pads, since thicker rubber alone does not solve the problem. Match the thickness to your heaviest use.
Do I need a permit to finish a basement for a home gym?
Laying rubber flooring on its own does not normally need one, but finishing a basement with new framing, electrical or heating often does. Rules depend on the work involved, so confirm with your contractor or the City of Calgary before you start.
Sources
- Best Home Gym Flooring in Canada: Rubber vs Foam vs Vinyl
- Best Types Of Flooring For A Home Gym, Forbes Home
- Keeping The Heat In, Section 6: Basement insulation, Natural Resources Canada
- Best Flooring for a Home Gym Over Concrete
- 5 Best Home Gym Flooring Options in Canada
- Home Gym Flooring: A Practical Guide to Choosing Floors
- Gym Flooring Canada: Rubber Rolls vs 4x6 Gym Mats
- Gym Rubber Flooring: Impact Absorption and Surface Protection
- How Thick Should Gym Flooring Be
- Why and When to Use an Olympic Lifting Platform
- How to Build a Home Gym in Canada
- What Grip-Hazard Cleaning Prevention Really Means